

Build resources from anywhere
The Brisk extension works wherever you’re already working — in your Google or Word docs, go-to instructional videos, favorite websites, PDFs, and even your LLM chats.
Choose any source material and transform it into a standards-aligned teaching resource on the spot — no app-switching required.
Check off your entire to-do list
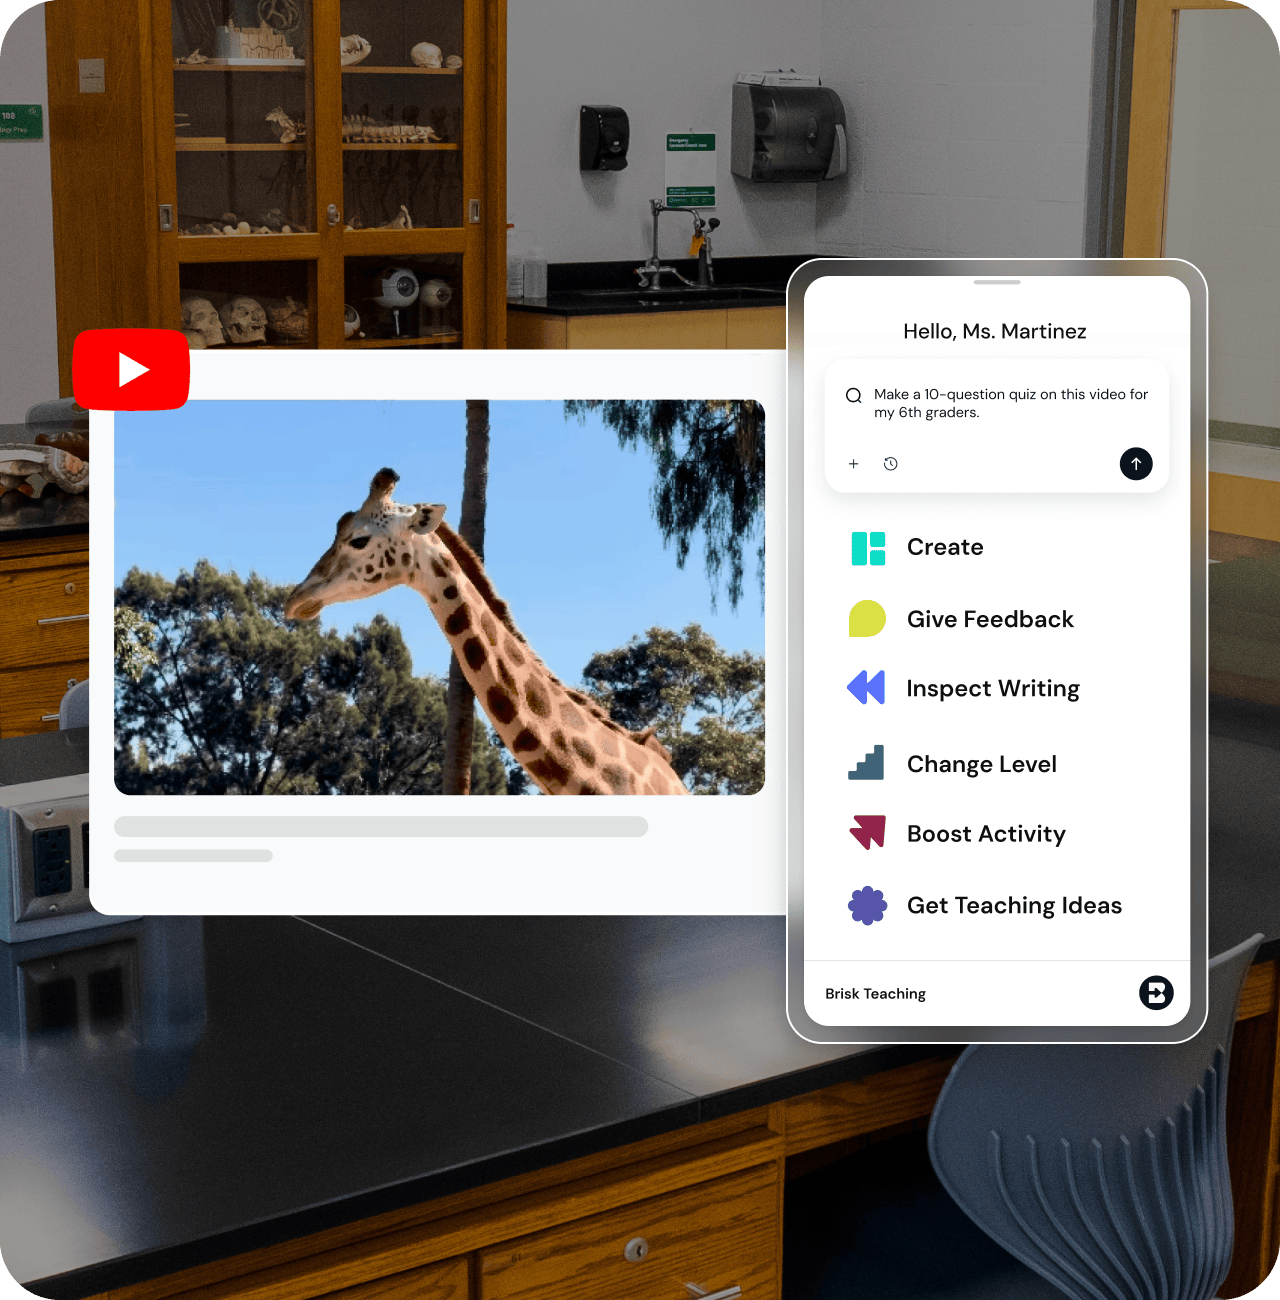
Brisk has tools for every stage of the teaching process. Want to create a presentation, worksheet, and quiz based on a YouTube video? There’s a Brisk tool for that.
Need to translate and scaffold an assignment? There’s a tool for that, too.
Want help drafting personalized feedback on student essays? You guessed it: Brisk has you covered.
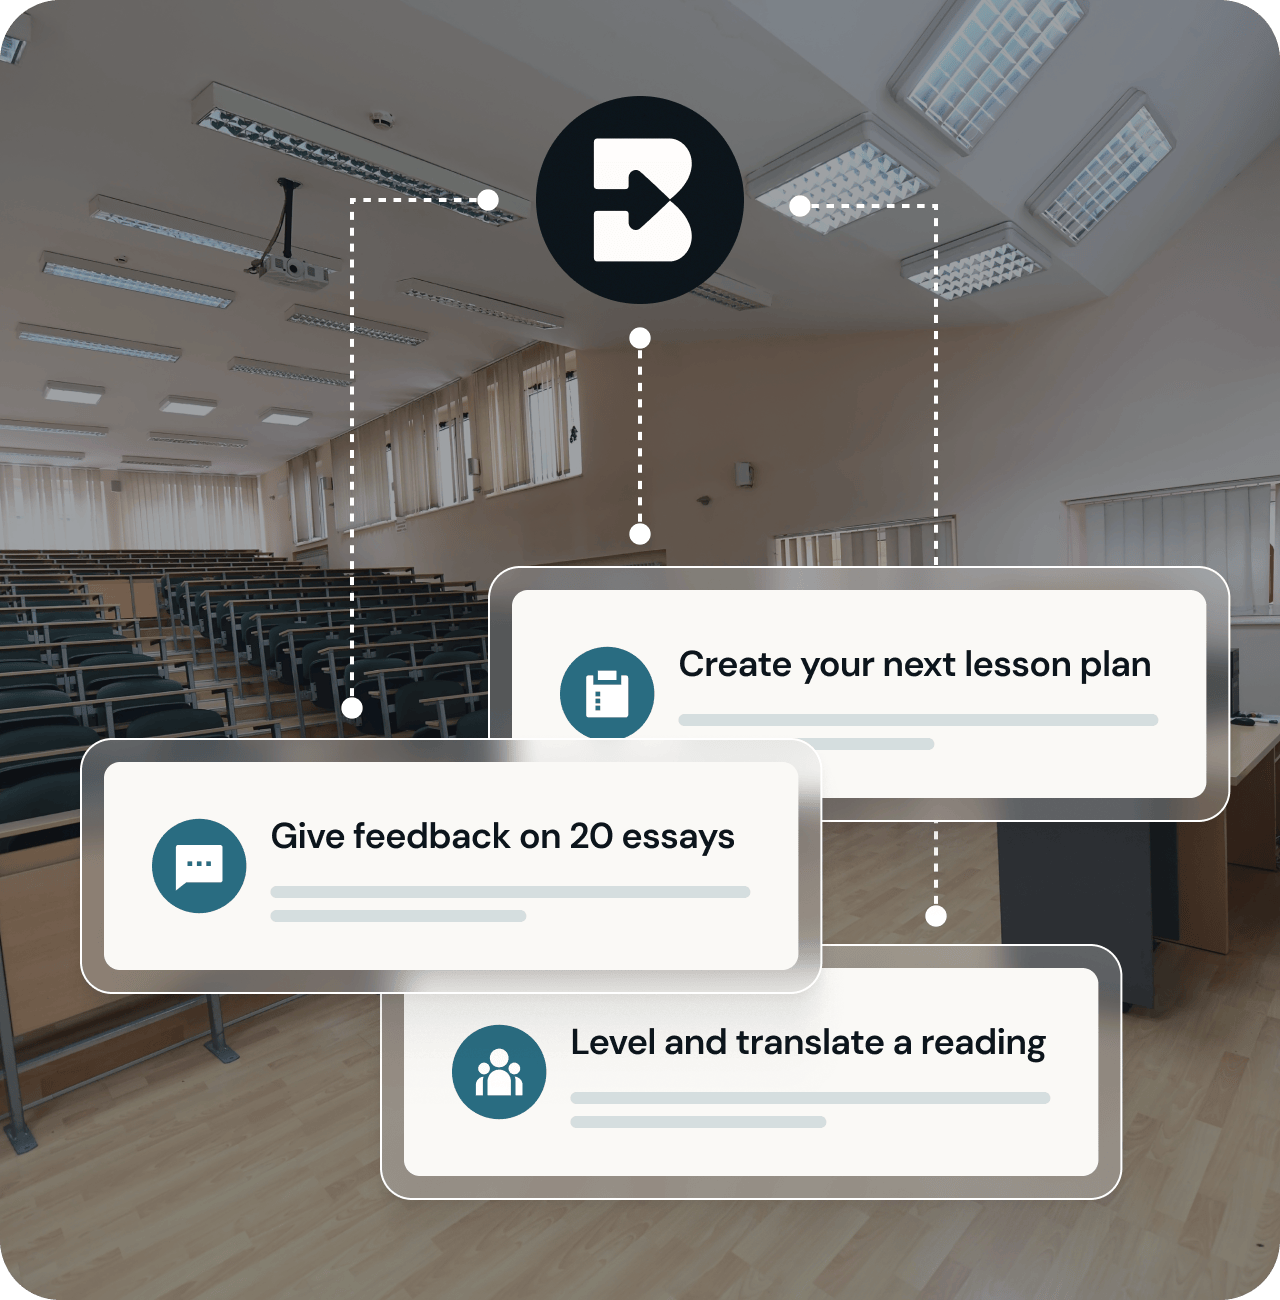
Get rolling right off the bat
You shouldn’t have to spend hours learning a new tool. With the Brisk extension, your next resource is just a conversation away:

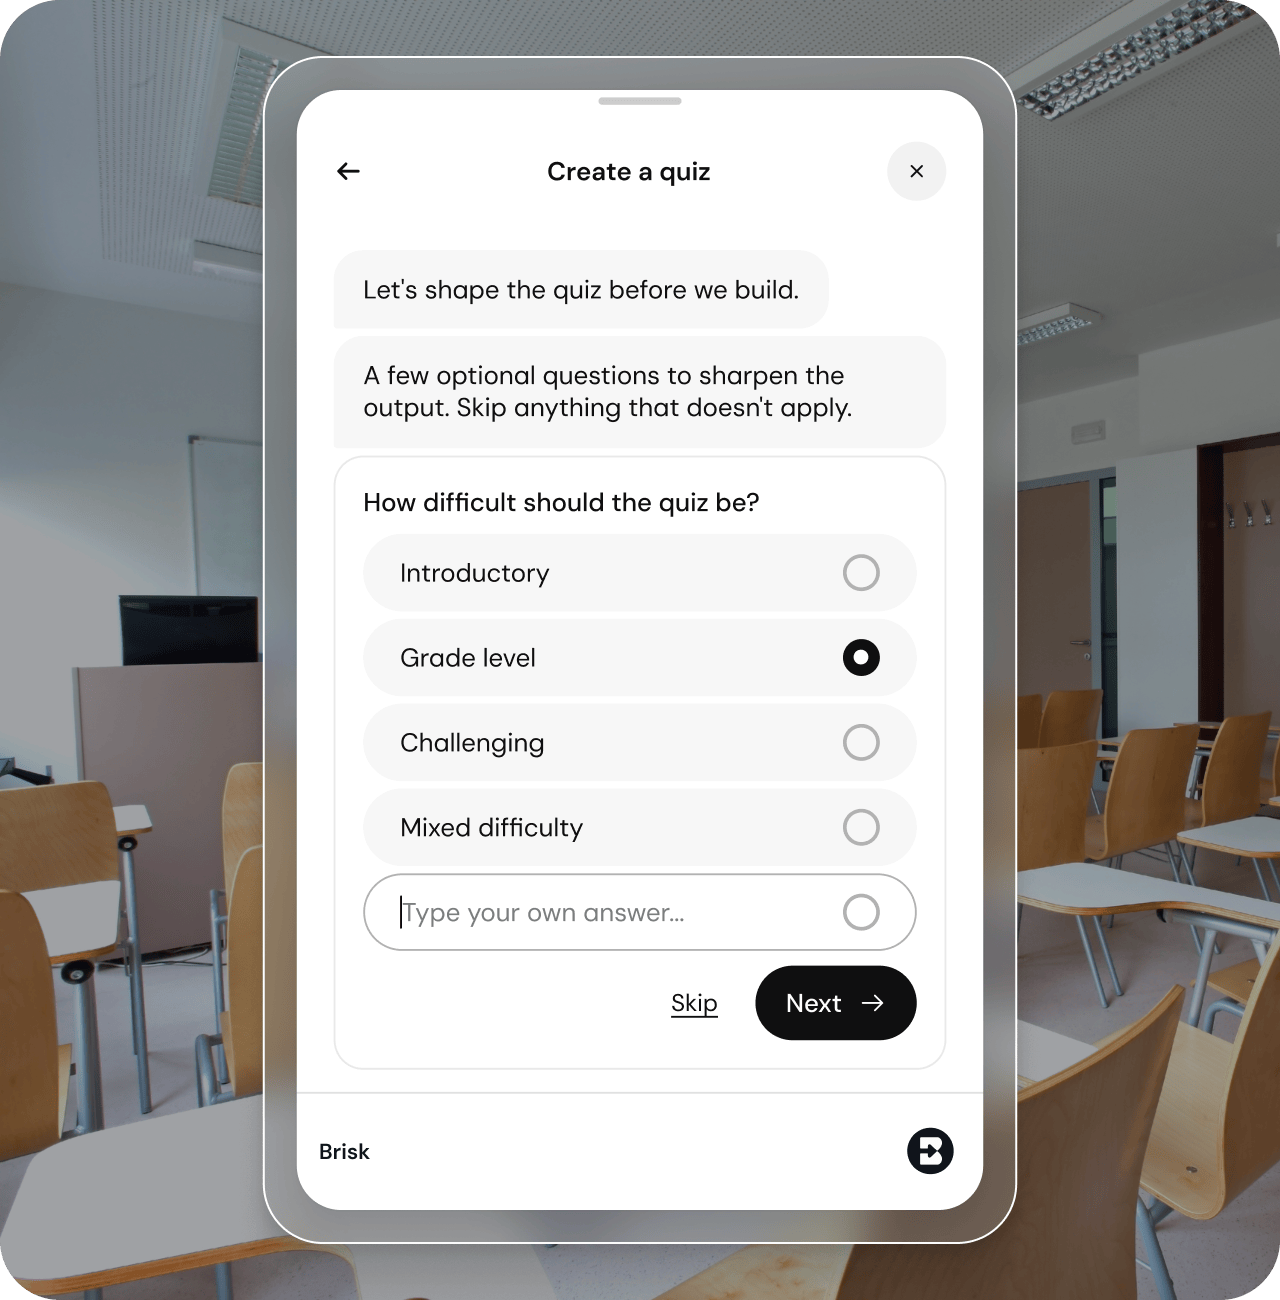
Type what you need into the Brisk search bar.
Answer a few quick questions about your classroom and goals.
Chat back and forth with Brisk to make any final adjustments.
And that’s it. A high-quality teaching resource in your hands in minutes — no learning curve.
Keep control of your data
Brisk has earned a 95% rating from the Common Sense Privacy Program, one of the best ratings among education-focused AI tools.
Brisk complies with COPPA, FERPA, SOC 2, and other key K–12 privacy standards. Brisk never tracks your online activity outside of when you’re actively using the extension and never uses teacher or student data to train AI models.

Getting started with the Brisk extension
01
Add the Brisk extension
Install Brisk from the Chrome Web Store or Edge Add-ons. The extension will work in any Chromium-based browser.
02
Pin it to your toolbar
Click the puzzle piece icon in your browser toolbar, find Brisk, and click the pin icon. Now it’ll always be ready to use.
03
Sign in with Google or Microsoft
Click the Brisk “B” and sign in. Everything you create with Brisk will save straight to your Google Drive or Microsoft OneDrive.


How to use the Brisk Extension
Get a bite-sized overview of how to use the Brisk Extension to create teaching resources with ease.

Frequently Asked Questions
A browser extension is a small piece of software that adds new features to your web browser - kind of like an app for Chrome or Edge.
Extensions let you customize how your browser works. For example, you might use one to block ads, check your grammar, or save articles to read later.
Once installed, an extension usually appears as a small icon in the top-right corner of your browser. You can click it to use its features without opening a new tab or website.
Brisk is a browser extension, which means it works directly inside the tools and websites you already use.
Brisk is both, each designed for a different kind of teaching workflow.
- The Brisk browser extension supports 1:1 teaching moments, giving instant support directly within tools like Google Docs, Slides, and across the web. Teachers can generate materials, differentiate, and give personalized feedback seamlessly inside their existing workflows. Install here.
- The Brisk web experience (accessible at app.briskteaching.com) powers 1-to-many workflows, helping teachers manage and scale classroom-wide tasks like bulk feedback and multi-student insights. It also includes Brisk Next, a central workspace where teachers can choose a subject or topic and instantly get everything they need — lesson materials, practice activities, assessments, and extension ideas — all personalized and organized in one place to make planning efficient and instruction more cohesive.
Yes, you’ll need to create an account to use Brisk. Go to app.briskteaching.com/get-started to create your free account today.
Yes, Brisk offers a free plan for individual educators that includes access to core tools including the quiz generator, lesson plan generator, rubric generator, presentation maker, and more. Premium and Intelligence plans are available for additional features and school/district-wide use.
How to install the Brisk extension in your Google Chrome browser:
- Go to the Brisk Teaching extension page in the Chrome Web Store, or go to the Brisk Teaching homepage and click the Get started free button in the upper right.
- Click Add to Chrome.
- Brisk should now show up under your Extensions! Click on the extension to activate it on your webpage.
How to install the Brisk extension in your Microsoft Edge browser:
- Go to the Brisk Teaching add-on page in the Edge Add-ons Store, or go to the Brisk Teaching homepage and click the Get started free button in the upper right.
- Click the Get button in the upper right. Brisk should now show up under your Extensions.
- From there, you can create Microsoft-compatible resources and save them to your OneDrive.
- After you've installed the Brisk Teaching Chrome extension or the Edge Add-on, click on the Extensions menu in your browser's toolbar.
- Click on the Pin icon next to the Brisk Teaching extension.
- A shortcut for the Brisk extension will be added to your toolbar.
You can easily move or hide Brisk whenever you need to:
- Show or Hide Brisk: Click the Brisk icon in your Chrome toolbar to make the Brisk Chrome extension either pop up or disappear from your screen.
- Move Brisk: Once Brisk is visible, simply drag the Brisk icon to any spot on your screen where it’s most convenient for you.
You will need to contact your school IT administrator to allow-list the following on your school domain:
*brisk.education
*briskteaching.com
If you're using the Chrome extension, your IT department may also need to allow the Brisk Chrome Extension ID: pcblbflgdkdfdjpjifeppkljdnaekohj.
Our Privacy Policy outlines exactly what information we collect and how we use it, but here’s the high-level overview:
Brisk Teaching aims to access only the minimum amount of data necessary to provide meaningful support for teaching and learning. We treat all student information as confidential and never use it for any purpose other than delivering the Brisk Teaching service to schools.
Brisk only accesses data in the specific moments when you choose to use a tool. For example:
- If you ask Brisk to adjust the reading level of a webpage, Brisk needs access to the text on that page.
- If you ask Brisk to give feedback on student work, it needs access to that piece of student work to generate feedback.
Brisk never accesses data outside of what you intentionally use the tool on.
For full details, please visit our Privacy Center, or reach out to privacy@briskteaching.com with any questions.