

أنشئ مواردك من أي مكان
تعمل إضافة Brisk أينما كنت تعمل؛ سواء في مستندات Google أو Word، أو في مقاطع الفيديو التعليمية التي تستخدمها، أو مواقعك المفضلة، أو ملفات PDF، وحتى في محادثات الذكاء الاصطناعي الخاصة بك.
اختر أي مادة تعليمية وحوّلها فوراً إلى مورد تعليمي متوافق مع المعايير، دون الحاجة للتنقل بين التطبيقات.
أنجز قائمة مهامك بالكامل
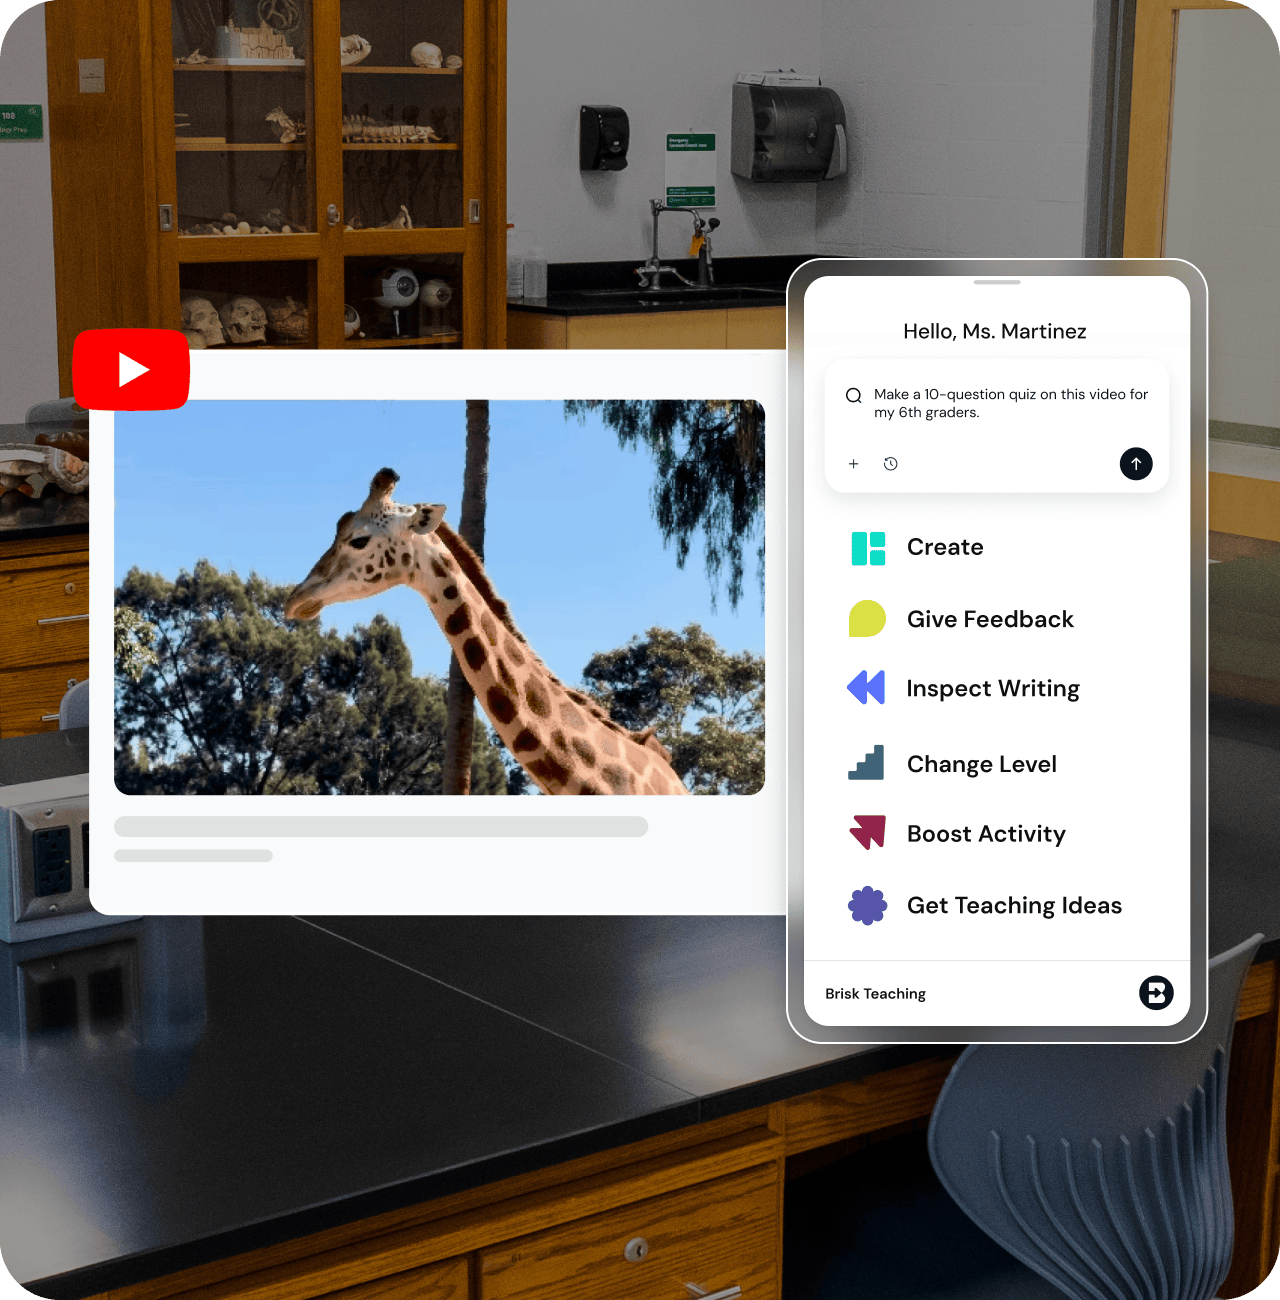
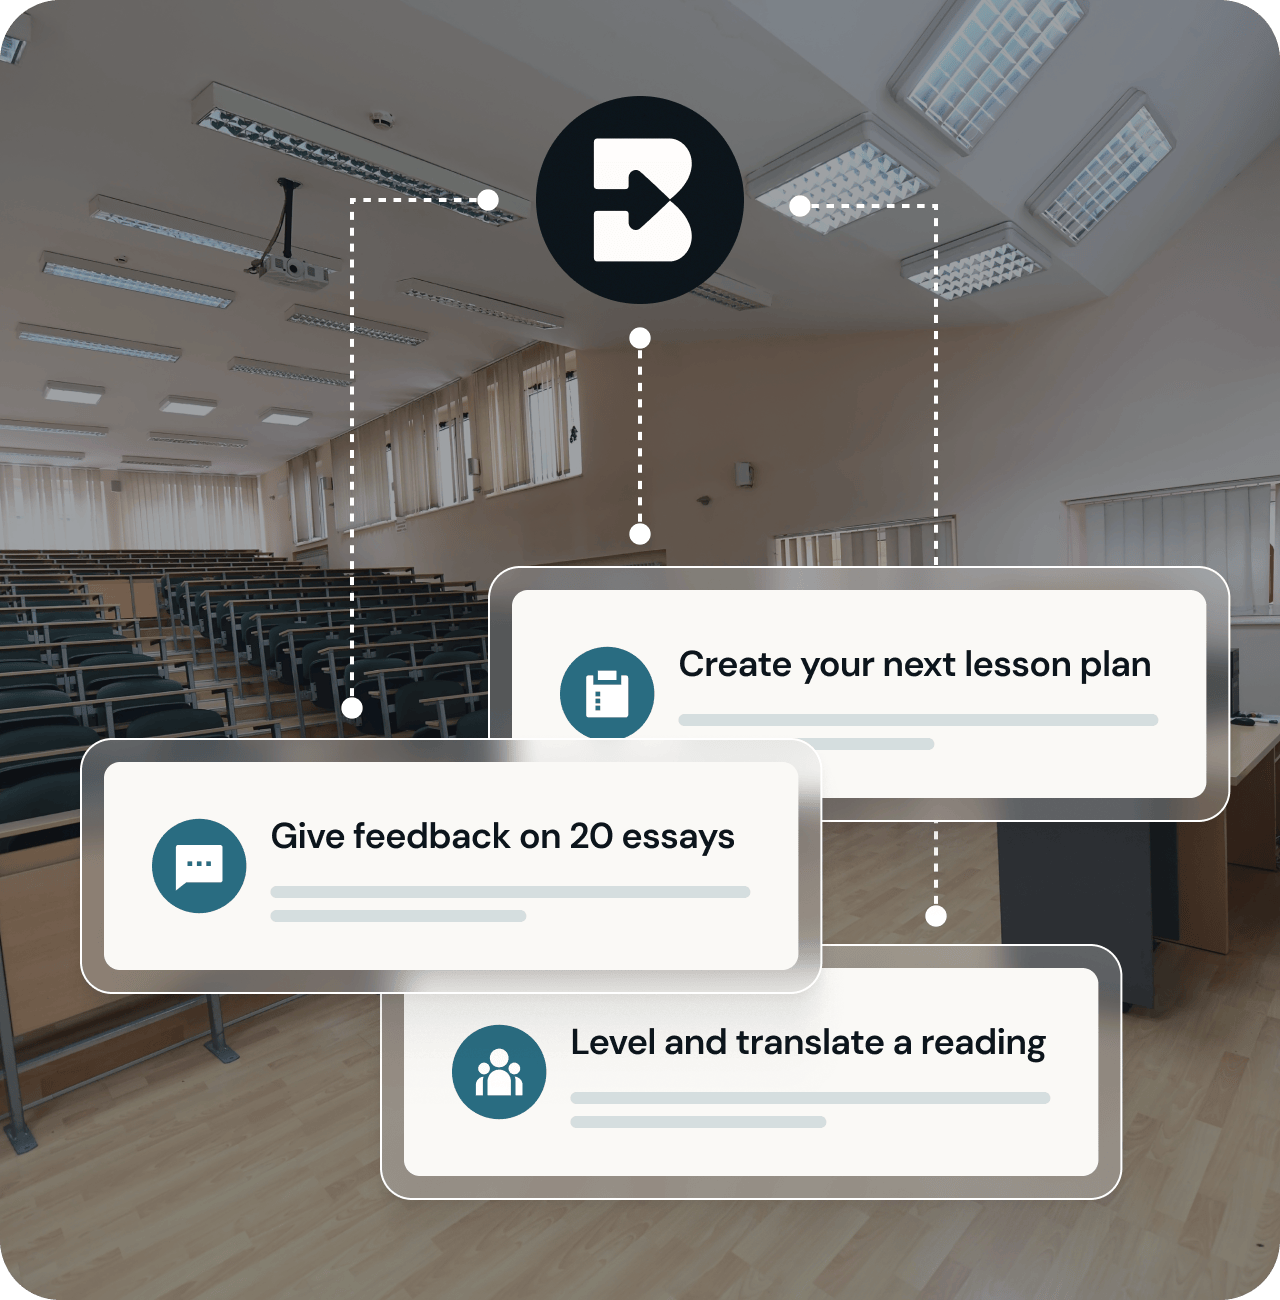
تمتلك Brisk أدوات لكل مرحلة من مراحل العملية التعليمية. هل ترغب في إنشاء عرض تقديمي أو ورقة عمل أو اختبار بناءً على مقطع فيديو من يوتيوب؟ هناك أداة من Brisk مخصصة لذلك.
هل تحتاج إلى ترجمة واجب دراسي أو تبسيطه؟ هناك أداة لذلك أيضاً.
هل تحتاج إلى مساعدة في صياغة ملاحظات مخصصة لمقالات الطلاب؟ لقد خمنت ذلك: Brisk توفر لك كل ما تحتاجه.
ابدأ العمل فوراً
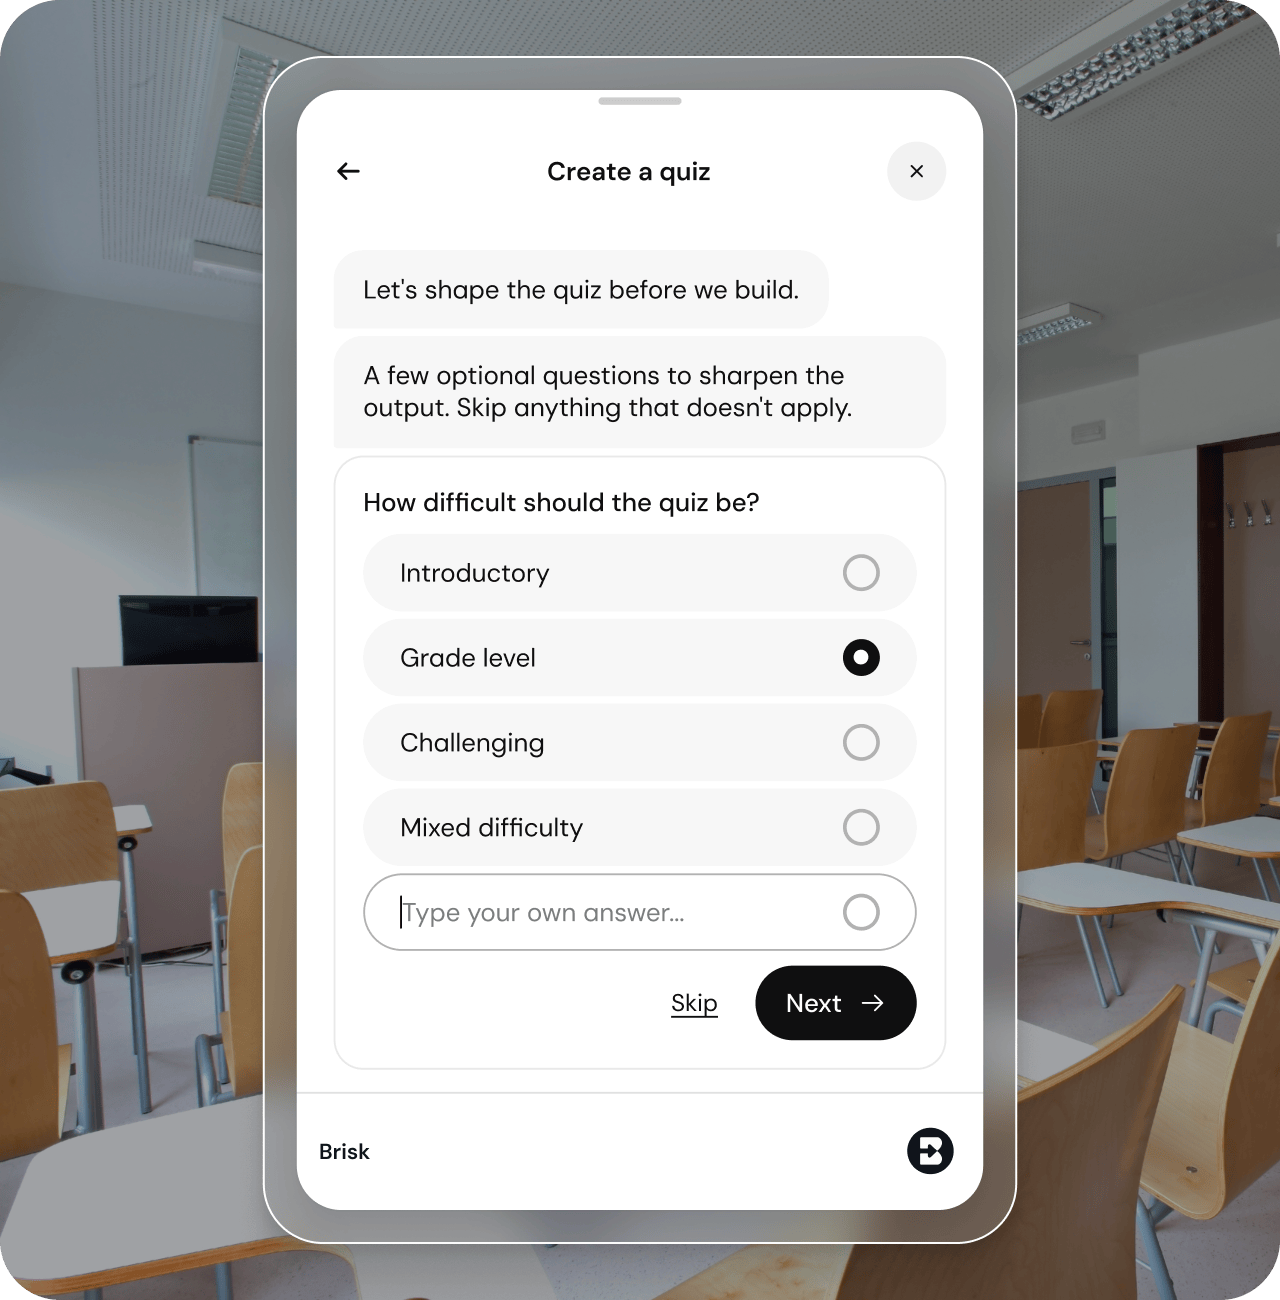
لا ينبغي عليك قضاء ساعات في تعلم أداة جديدة. مع إضافة Brisk، موردك القادم على بعد محادثة بسيطة فقط:

اكتب ما تحتاجه في شريط بحث Brisk.
أجب عن بضعة أسئلة سريعة حول فصلك الدراسي وأهدافك.
تحدث مع Brisk ذهاباً وإياباً لإجراء أي تعديلات نهائية.
وهذا كل شيء. ستحصل على مورد تعليمي عالي الجودة بين يديك في دقائق، دون الحاجة لتعلم أي مهارات معقدة.
حافظ على تحكمك في بياناتك
حصلت Brisk على تقييم 95% من برنامج Common Sense Privacy، وهو أحد أفضل التقييمات بين أدوات الذكاء الاصطناعي المخصصة للتعليم.
تتوافق Brisk مع معايير COPPA وFERPA وSOC 2 وغيرها من معايير الخصوصية الأساسية للمراحل التعليمية من الروضة حتى الصف الثاني عشر (K–12). لا تتعقب Brisk نشاطك عبر الإنترنت إلا عند استخدامك للإضافة بشكل فعلي، ولا تستخدم بيانات المعلمين أو الطلاب مطلقاً لتدريب نماذج الذكاء الاصطناعي.

البدء مع إضافة Brisk
01
أضف إضافة Brisk
قم بتثبيت Brisk من متجر Chrome الإلكتروني أو إضافات Edge. ستعمل الإضافة في أي متصفح يعتمد على Chromium.
02
ثبّتها في شريط الأدوات
اضغط على أيقونة قطعة الألغاز في شريط أدوات المتصفح، وابحث عن Brisk، ثم اضغط على أيقونة الدبوس. الآن ستكون الإضافة جاهزة للاستخدام في أي وقت.
03
سجل الدخول باستخدام Google أو Microsoft
اضغط على حرف "B" الخاص بـ Brisk وسجل دخولك. سيتم حفظ كل ما تنشئه باستخدام Brisk مباشرةً في Google Drive أو Microsoft OneDrive الخاص بك.


كيفية استخدام إضافة Brisk
احصل على نظرة سريعة ومبسطة حول كيفية استخدام إضافة Brisk لإنشاء موارد تعليمية بكل سهولة.

الأسئلة الشائعة
A browser extension is a small piece of software that adds new features to your web browser - kind of like an app for Chrome or Edge.
Extensions let you customize how your browser works. For example, you might use one to block ads, check your grammar, or save articles to read later.
Once installed, an extension usually appears as a small icon in the top-right corner of your browser. You can click it to use its features without opening a new tab or website.
Brisk is a browser extension, which means it works directly inside the tools and websites you already use.
Brisk is both, each designed for a different kind of teaching workflow.
- The Brisk browser extension supports 1:1 teaching moments - giving instant support directly within tools like Google Docs, Slides, and across the web. Teachers can generate materials, differentiate, and give personalized feedback seamlessly inside their existing workflows. Install here.
- The Brisk web experience (accessible at app.briskteaching.com) powers 1-to-many workflows - helping teachers manage and scale classroom-wide tasks like bulk feedback and multi-student insights. It also includes Brisk Next, a central workspace where teachers can choose a subject or topic and instantly get everything they need - lesson materials, practice activities, assessments, and extension ideas - all personalized and organized in one place to make planning efficient and instruction more cohesive.
Yes, you’ll need to create an account to use Brisk. Go to app.briskteaching.com/get-started to create your free account today.
Yes, Brisk offers a free plan for individual educators that includes access to core tools including the quiz generator, lesson plan generator, rubric generator, presentation maker, and more. Premium and Intelligence plans are available for additional features and school/district-wide use.
How to install the Brisk extension in your Google Chrome browser:
- Go to the Brisk Teaching extension page in the Chrome Web Store, or go to the Brisk Teaching homepage and click the Add For Free button in the upper right.
- Click Add to Chrome.
- Brisk should now show up under your Extensions! Click on the extension to activate it on your webpage.
How to install the Brisk extension in your Microsoft Edge browser:
- Go to the Brisk Teaching add-on page in the Edge Add-ons Store, or go to the Brisk Teaching homepage and click the Add For Free button in the upper right. (Make sure you are using the Edge browser.)
- Click the Get button in the upper right. Brisk should now show up under your Extensions.
- From there, you can create Microsoft-compatible resources and save them to your OneDrive.
- After you've installed the Brisk Teaching Chrome extension or the Edge Add-on, click on the Extensions menu in your browser's toolbar.
- Click on the Pin icon next to the Brisk Teaching extension.
- A shortcut for the Brisk extension will be added to your toolbar.
نعم، يمكنك بسهولة نقل Brisk أو إخفائه كلما احتجت إلى:
- عرض سريع أو إخفائه: انقر فوق رمز Brisk في شريط أدوات Chrome لجعل إضافة Brisk Chrome تظهر أو تختفي من شاشتك.
- تحرك بسرعة: بمجرد ظهور Brisk، ما عليك سوى سحب أيقونة Brisk إلى أي مكان على شاشتك يكون أكثر ملاءمة لك.
ستحتاج إلى الاتصال بمسؤول تكنولوجيا المعلومات في مدرستك للسماح بإدراج ما يلي في مجال مدرستك:
* تعليم سريع
*بريسكتيتشينج. كوم
قد يحتاج قسم تكنولوجيا المعلومات لديك أيضًا إلى السماح بمعرف ملحق بريسك كروم: pcblbflgdkdfdjpjifeppkljdnaekohj.
Our Privacy Policy outlines exactly what information we collect and how we use it, but here’s the high-level overview:
Brisk Teaching aims to access only the minimum amount of data necessary to provide meaningful support for teaching and learning. We treat all student information as confidential and never use it for any purpose other than delivering the Brisk Teaching service to schools.
Brisk only accesses data in the specific moments when you choose to use a tool. For example:
- If you ask Brisk to adjust the reading level of a webpage, Brisk needs access to the text on that page.
- If you ask Brisk to give feedback on student work, it needs access to that piece of student work to generate feedback.
Brisk never accesses data outside of what you intentionally use the tool on.
For full details, please visit our Privacy Center, or reach out to privacy@briskteaching.com with any questions.