

어디서든 자료 만들기
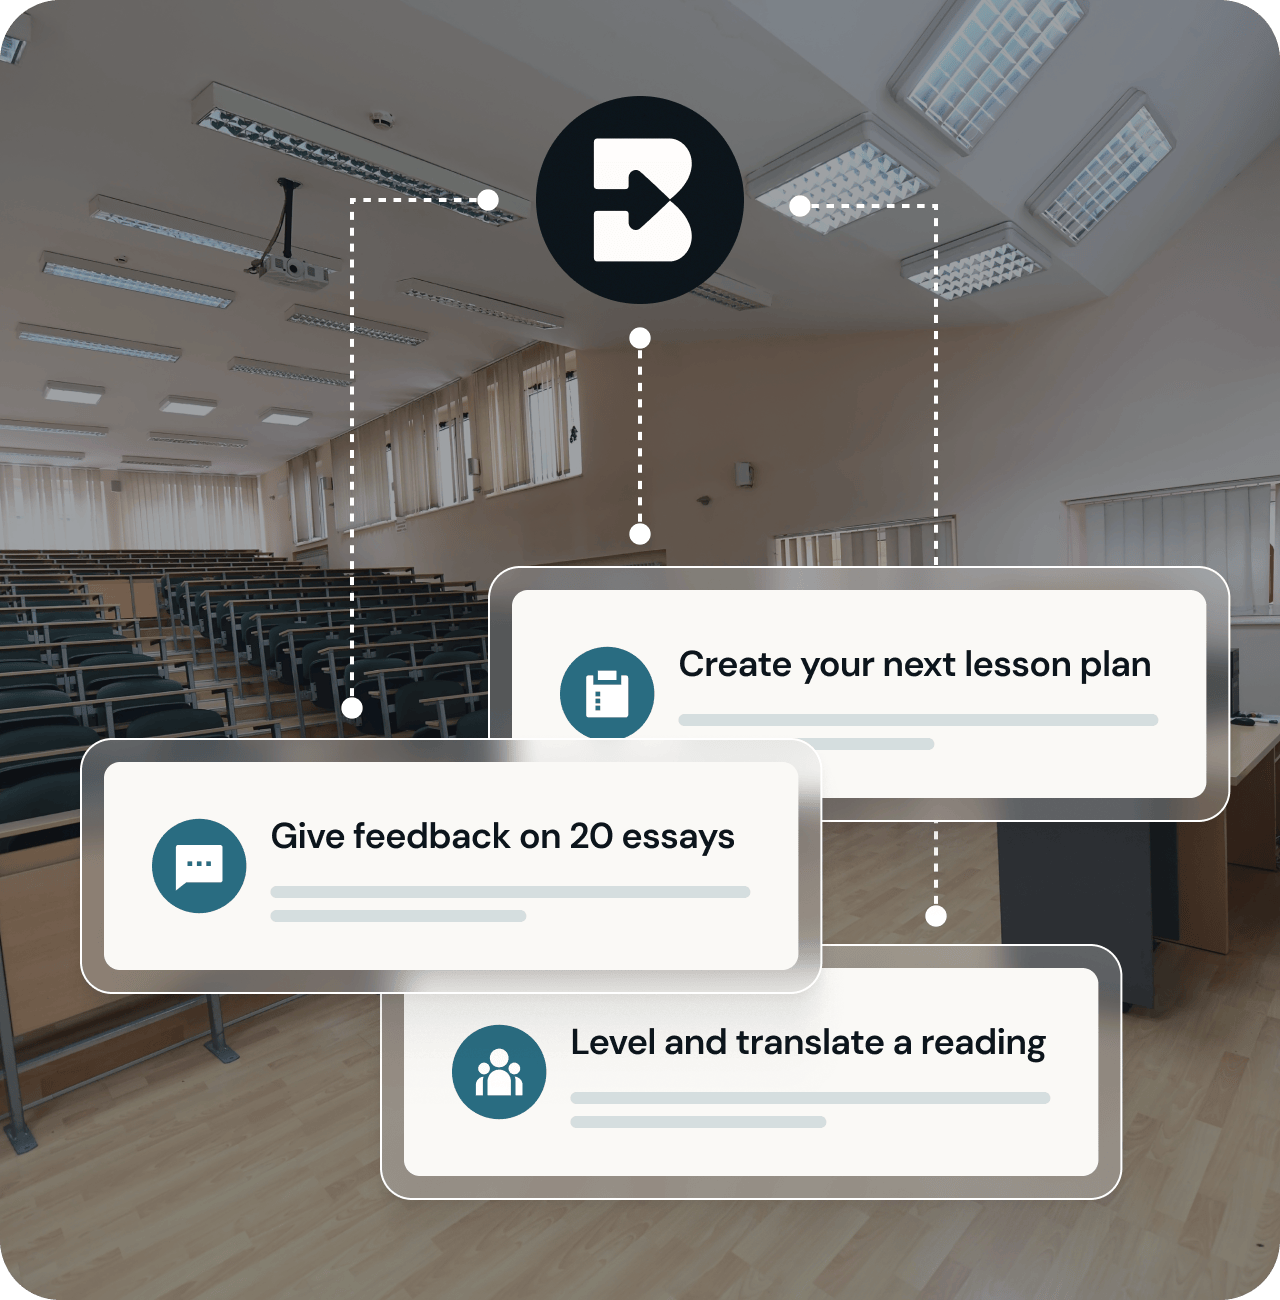
Brisk 확장 프로그램은 Google 문서, Word 문서, 수업용 영상, 즐겨 찾는 웹사이트, PDF, 심지어 LLM 채팅까지 선생님이 이미 사용 중인 모든 곳에서 작동합니다.
원하는 학습 자료를 선택하면 즉시 교육 과정 표준에 맞춘 수업 자료로 변환됩니다. 앱을 전환할 필요도 없습니다.
추천
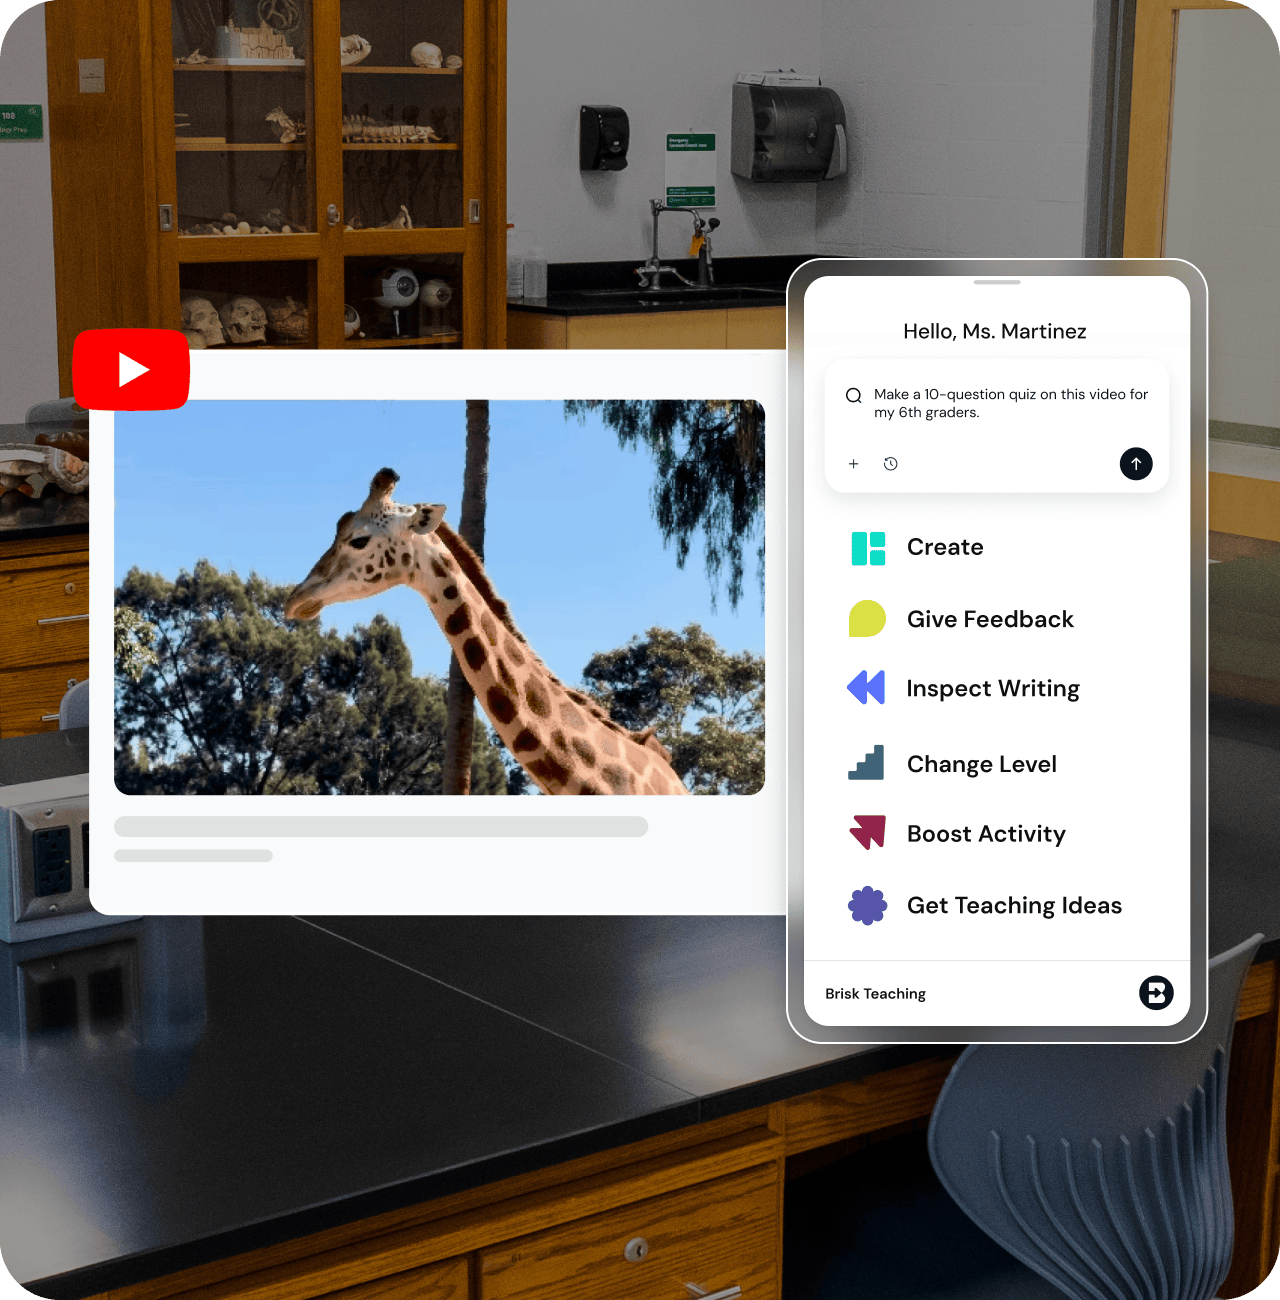
Brisk를 사용하여 온라인 기사나 텍스트의 읽기 수준을 학생의 필요에 맞게 조정하고, 모두가 학습하기 좋은 환경을 조성하세요. Brisk는 콘텐츠의 원래 학년 수준을 파악하여 1학년부터 12학년까지 자유롭게 수정할 수 있도록 지원합니다.
즉시 바로 시작하기
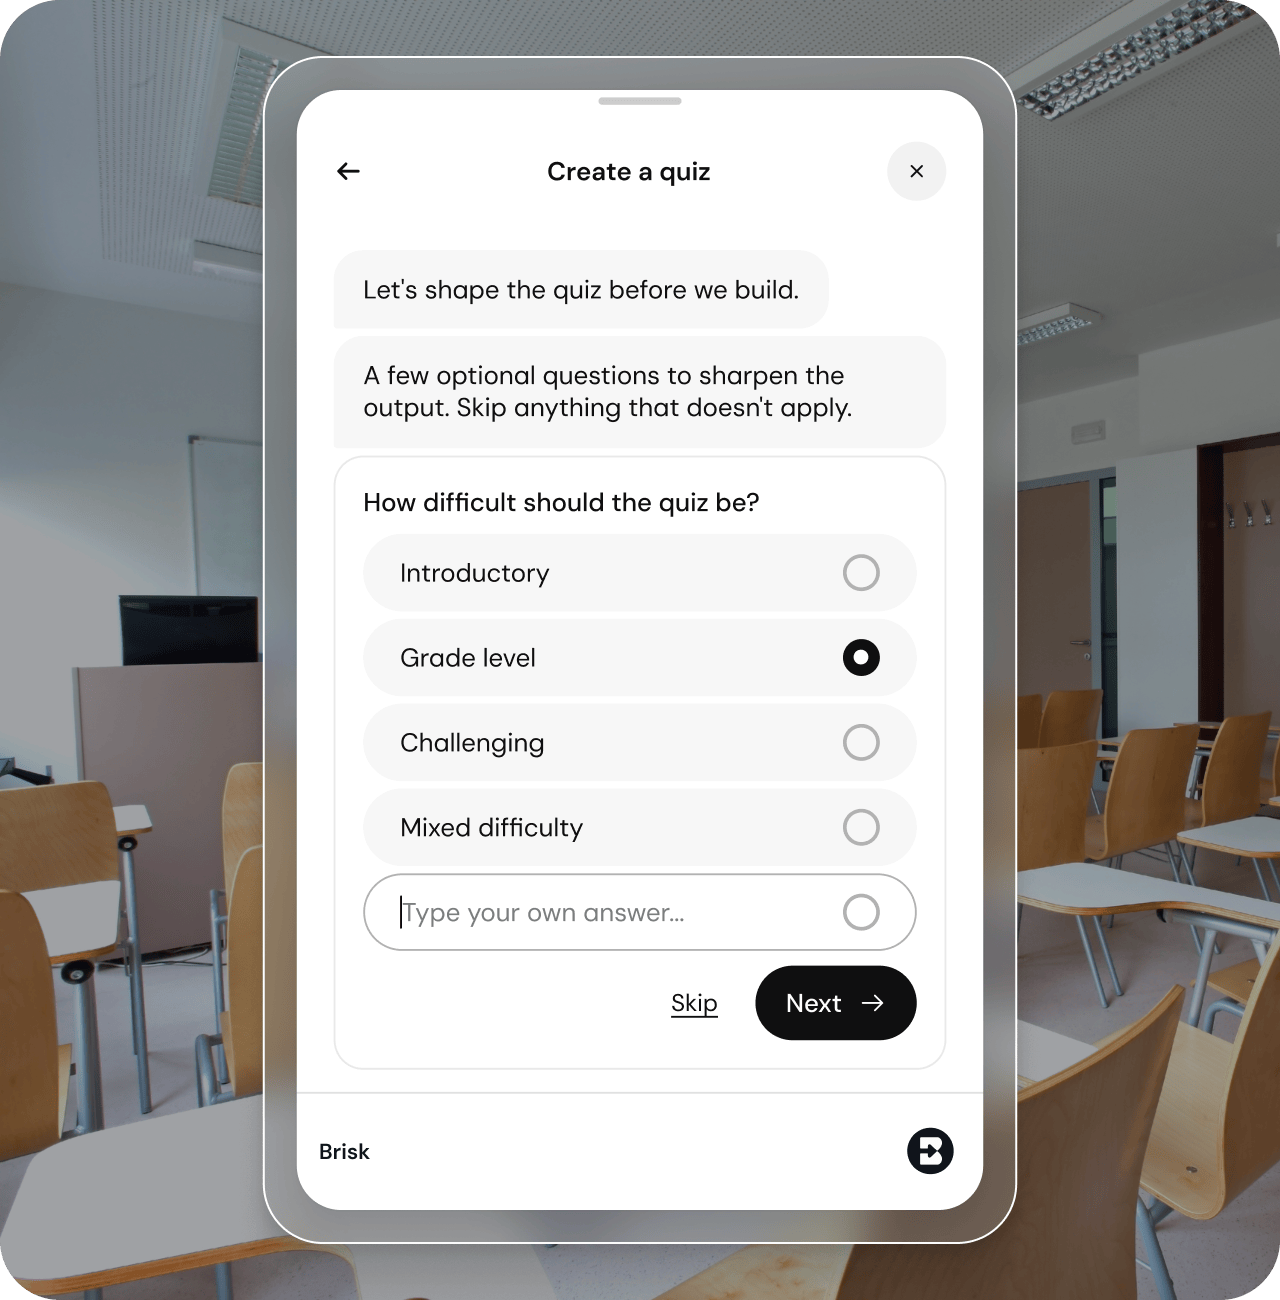
새로운 도구를 배우느라 몇 시간씩 허비할 필요가 없습니다. Brisk 확장 프로그램과 함께라면 대화만으로 다음 수업 자료를 준비할 수 있습니다.

Brisk 검색창에 필요한 내용을 입력하세요.
학급 상황과 목표에 관한 몇 가지 간단한 질문에 답해 주세요.
Brisk와 대화를 주고받으며 최종 조정을 진행하세요.
이게 전부입니다. 별도의 학습 과정 없이도 몇 분 만에 고품질 교육 자료를 손에 넣을 수 있습니다.
데이터 통제권 유지
Brisk는 교육용 AI 도구 중 최고 수준인 Common Sense Privacy Program 평가에서 95%의 점수를 획득했습니다.
Brisk는 COPPA, FERPA, SOC 2 및 기타 주요 K-12 개인정보 보호 표준을 준수합니다. Brisk는 사용자가 확장 프로그램을 활발히 사용하는 시간 외에는 온라인 활동을 추적하지 않으며, 교사나 학생의 데이터를 AI 모델 학습에 절대 사용하지 않습니다.

Brisk 확장 프로그램 시작하기
01
Brisk 확장 프로그램 추가하기
Chrome 웹 스토어 또는 Edge 추가 기능에서 Brisk를 설치하세요. 이 확장 프로그램은 모든 Chromium 기반 브라우저에서 작동합니다.
02
툴바에 고정하기
브라우저 툴바에서 퍼즐 조각 아이콘을 클릭하고 Brisk를 찾아 고정 아이콘을 클릭하세요. 이제 언제든 바로 사용할 수 있습니다.
03
Google 또는 Microsoft로 로그인
Brisk "B" 아이콘을 클릭하고 로그인하세요. Brisk로 만드는 모든 자료는 Google Drive나 Microsoft OneDrive에 바로 저장됩니다.


Brisk 확장 프로그램 사용 방법
Brisk 확장 프로그램을 사용하여 교육 자료를 쉽게 만드는 방법을 간단히 알아보세요.

자주 묻는 질문
A browser extension is a small piece of software that adds new features to your web browser - kind of like an app for Chrome or Edge.
Extensions let you customize how your browser works. For example, you might use one to block ads, check your grammar, or save articles to read later.
Once installed, an extension usually appears as a small icon in the top-right corner of your browser. You can click it to use its features without opening a new tab or website.
Brisk is a browser extension, which means it works directly inside the tools and websites you already use.
Brisk is both, each designed for a different kind of teaching workflow.
- The Brisk browser extension supports 1:1 teaching moments - giving instant support directly within tools like Google Docs, Slides, and across the web. Teachers can generate materials, differentiate, and give personalized feedback seamlessly inside their existing workflows. Install here.
- The Brisk web experience (accessible at app.briskteaching.com) powers 1-to-many workflows - helping teachers manage and scale classroom-wide tasks like bulk feedback and multi-student insights. It also includes Brisk Next, a central workspace where teachers can choose a subject or topic and instantly get everything they need - lesson materials, practice activities, assessments, and extension ideas - all personalized and organized in one place to make planning efficient and instruction more cohesive.
Yes, you’ll need to create an account to use Brisk. Go to app.briskteaching.com/get-started to create your free account today.
Yes, Brisk offers a free plan for individual educators that includes access to core tools including the quiz generator, lesson plan generator, rubric generator, presentation maker, and more. Premium and Intelligence plans are available for additional features and school/district-wide use.
How to install the Brisk extension in your Google Chrome browser:
- Go to the Brisk Teaching extension page in the Chrome Web Store, or go to the Brisk Teaching homepage and click the Add For Free button in the upper right.
- Click Add to Chrome.
- Brisk should now show up under your Extensions! Click on the extension to activate it on your webpage.
How to install the Brisk extension in your Microsoft Edge browser:
- Go to the Brisk Teaching add-on page in the Edge Add-ons Store, or go to the Brisk Teaching homepage and click the Add For Free button in the upper right. (Make sure you are using the Edge browser.)
- Click the Get button in the upper right. Brisk should now show up under your Extensions.
- From there, you can create Microsoft-compatible resources and save them to your OneDrive.
- After you've installed the Brisk Teaching Chrome extension or the Edge Add-on, click on the Extensions menu in your browser's toolbar.
- Click on the Pin icon next to the Brisk Teaching extension.
- A shortcut for the Brisk extension will be added to your toolbar.
예, 필요할 때마다 Brisk를 쉽게 이동하거나 숨길 수 있습니다.
- 브리스크 표시 또는 숨기기: Chrome 툴바에서 Brisk 아이콘을 클릭하면 Brisk Chrome 확장 프로그램이 화면에서 팝업되거나 사라집니다.
- 무브 브리스크: Brisk가 표시되면 화면에서 가장 편리한 위치로 Brisk 아이콘을 드래그하기만 하면 됩니다.
학교 도메인에 다음을 허용 목록에 추가하려면 학교 IT 관리자에게 문의해야 합니다.
*활발한 교육
*briskteaching.com
IT 부서에서 Brisk Chrome 확장 프로그램 ID인 pcblbflgdkdfdjpjifeppkljdnaekohj를 허용해야 할 수도 있습니다.
Our Privacy Policy outlines exactly what information we collect and how we use it, but here’s the high-level overview:
Brisk Teaching aims to access only the minimum amount of data necessary to provide meaningful support for teaching and learning. We treat all student information as confidential and never use it for any purpose other than delivering the Brisk Teaching service to schools.
Brisk only accesses data in the specific moments when you choose to use a tool. For example:
- If you ask Brisk to adjust the reading level of a webpage, Brisk needs access to the text on that page.
- If you ask Brisk to give feedback on student work, it needs access to that piece of student work to generate feedback.
Brisk never accesses data outside of what you intentionally use the tool on.
For full details, please visit our Privacy Center, or reach out to privacy@briskteaching.com with any questions.